Ending routes: choices, commitments and earlier saves
Choose a finale route, recognize its commitment point and keep a usable save for unfinished quests or another outcome.
Keep a save before committing to a finale if you want to finish side quests or try another route. The completed conclusions return to the main menu. Revisit the valley by loading an earlier save with the activities you want still available.
Running out of family-rescue time is a different event: it changes the rescue outcome but does not itself take you to the credits. Choose your route below before agreeing to depart, entering the castle or confirming a betrayal.
Save before choosing
When saving is available, use New Save to preserve your current position. Open Load Game and check that the entry exists, with the expected location and time. Keep this entry when making later saves.
The game also uses Final Autosave, but the final-quest warning alone does not prove that a new save was created. Check the save list before relying on it. A warning can appear without creating that save at that particular step.
For several outcomes, preserve a save before the routes diverge, while the allies and unfinished quests you need are still available. A save inside the final confrontation can revisit its remaining choices; it cannot restore an abandoned ally route or undo an earlier death.
After a conclusion, choose Load Game, select your earlier entry and use Load Save. Check its Journal before continuing. If it is already committed to the wrong assault, select an older entry.
Choose a route
| Your goal | Route to look for | Preserve a save before |
|---|---|---|
| Confront Brencis with Lacra | Midnight Reckoning | Confirming readiness and entering the final route |
| Attack with the manumits | Rise at Dawn → Fall Before Dusk | Confirming the march and finishing the briefing |
| Enter the castle independently | A Lone Wolf's Hunt | Confirming the side-gate entry or climbing onto the castle wall |
| Follow Brencis’s invitation | A Deal with the Devil | Meeting him; keep another entry before marking the hideout |
| Explore the repeating family scene | Home Sweet Home | Opening the tower door |
| Leave the valley | The leave/stay confirmation | Confirming that you want to leave forever |
These are routes and decision points, rather than a count of every variation in the epilogue. Finish a companion’s personal story before the finale if that character’s outcome matters to you; the relationship guide separates completing a route from accepting a romance.
With Lacra
The cooperation route leads through A Friend Like This, Song of the Mountain and Hive and Seek, then into Our Rotten Roots. Use these quest names to find the next objective if you have met Lacra but have not reached her departure preparations.
Finish Our Rotten Roots with Lacra, then look for Midnight Reckoning. Follow its waiting objective if the departure conversation is not ready. Return to Lacra in the abandoned fort once it is available. Tell her “It's time to deal with Brencis.”, then return to the conversation about going to Greifberg. Meet her at night and confirm “I am.” only when you are ready to proceed.
Finish the side content you want before following her into the final route. Continue its infiltration objectives through the castle and inner keep.
Show the confrontation and Lacra’s outcome choices
You can fight Brencis together or choose “I accept the offer. I'm sorry, Lacra.” and leave. These are different outcomes; accepting his offer gives up the joint fight.
The question “Lacra, can you handle him on your own?” can lead to Lacra willingly staying behind when you have accepted her romance and the family deadline has not passed. If she offers this, “Thank you, Lacra. I'll never forget it.” accepts her sacrifice. “No. We fight Brencis together.” instead commits to the fight. If she refuses the request, the question has not unlocked that sacrifice choice.
Completing her personal quest and staying with her matter to her survival during this route. Consult Lacra’s companion steps before the final departure, rather than expecting a last conversation in the castle to replace them.
With Marat and the manumits
For the entry route, follow The Firebrand into Shadows in the Woods, then Where Loyalty Lies. If Crake says you have not done enough to join, the Journal gives the objective “Raise your notoriety to Notorious or higher”. Complete that objective before returning to the joining conversation; meeting the manumits alone does not establish readiness.
Open Court to check your current Infamy and find activities directed against Brencis’s boyars. Choose an activity you can handle, check its current objective’s time commitment, then complete it and check Court again. Continue until the joining objective is complete. Each new Infamy level brings an Edict that makes the world more hostile, so read the new Edict and reassess your preparation before choosing the next activity.
The subsequent story includes What Hunts the Night, What Moves the Dead and Who Pulls the Strings. Track the active objective. If Rise at Dawn is already available, use its preparation steps below; do not wait for every optional personal quest just to make the departure conversation appear. Complete the personal story first if you want to preserve Marat’s relationship opportunity.
Continue the manumits’ story until Rise at Dawn is available. Follow its preparation and meeting objectives. When the preparations are complete, tell Marat “I'm ready to march on Brencis's castle.”.
Confirm “Yes, I'm ready.”; if the conversation offers waiting, “Yes, I'll wait here.” continues the departure sequence. Finish the briefing to begin the assault. Choosing to reconsider backs out of the confirmation. Preserve your earlier save before completing this sequence.
The commitment comes before the outpost assault. In Rise at Dawn, follow Marat, tie the rope and attack Eastridge Outpost. Defeat the vanguard, breach the next gate, then climb the tower and open the outer gate for Catalin’s troops. After taking the outpost, use the quartermaster if you need to prepare, then report to Marat when ready for the castle attack.
If the march is unavailable, check the current preparation objective and whether the manumits are still friendly. Beginning the independent assault, entering Lacra’s finale or completing Brencis’s deal can abandon this preparation route. A later save will not restore it.
Show the throne-room choice and the attempted bargain
During the throne-room scene, choose “No! Stop!” to prevent that scene from killing Marat or Catalin. Remaining silent can kill one of them; prior preparation changes which person is at risk.
At the later confrontation, “Please – maybe we can come to an agreement.” does not secure a deal: Brencis refuses and the conversation proceeds to combat. If you want a bargain outcome, load a save before the rebel assault and use a different route below.
Enter the castle alone
Approach the southern side of Greifberg Castle and look for the side entrance shown below.
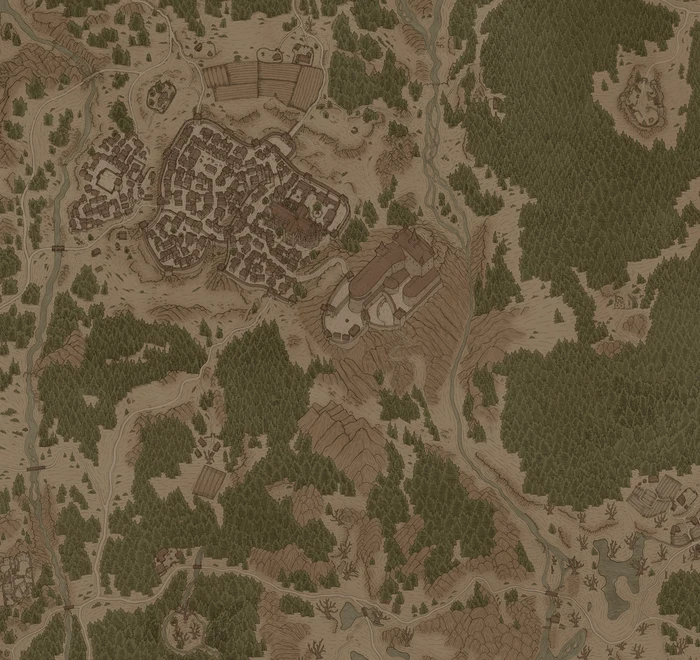
The independent route is A Lone Wolf's Hunt. Its side entrance offers “[knock using Florin's signal]” if you are allied with Florin, or “[use the key]” if you have the castle side-gate key. Ordinary knocking is not Florin’s signal.
Using the signal or key leads to another confirmation. Choose “[go inside]” or “Open up. I'm ready.” to go in; use the leave/return option if you still need to prepare. Confirmed entry starts the assault.
Climbing the castle walls at night is another entry. Reaching the wall-top entry triggers the encounter and starts the route, so preserve your save before climbing over. Once inside, follow the courtyard and temple objectives toward Brencis.
Show how to bargain during the independent route
Before the family deadline, begin with “I just want my family back.” and agree “Fine – I'll bow before you.”. You then need information Brencis will accept.
Lacra: “I can lead you to your sworn enemy - Lacra.” needs more than having met her. For the living-Lacra offer, you must know that Isbrand is in her hideout. This information comes from the conversation after rescuing him, which identifies the abandoned fort where he will recover.
The manumits: “I know where the rebels are hiding.” needs knowledge of their hideout and the missing patrol. Simply visiting their headquarters is insufficient. Use the scout investigation steps before attempting this offer.
If one offer is insufficient, the conversation may let you offer the other faction. Two insufficient offers do not combine into an accepted deal. Already killing Lacra or causing the rebels’ failure provides different conversation paths; it is not necessary to do either for the information routes above.
Once the deal is accepted, finish the conversation to proceed to its conclusion. If the family-request option is missing after the deadline, loading a save from before that deadline is necessary to revisit this particular bargain.
Get the missing-scout information
In Where Loyalty Lies, Crake sends you to the house with the pink façade in Neustadt. The lookout is in its attic. Search the attic, inspect the blood below the lookout and follow the blood trail through the streets. It leads to the old warehouse in the Middens; investigate the damaged wall and look for a way inside because the doors and windows are barricaded.
Go around the outside to the cart beside the warehouse wall. Climb up to the opening in the thatched roof, then drop through the gap. Check the bodies inside and the yard for the last scout. If he is alive, speak to him promptly and ask “What do you mean by that 'thing'?”. Let him finish explaining what attacked the patrol. Choosing “[give in to the hunger]” instead kills him before that conversation finishes.
If the scout is already dead, the investigation remains possible. Question his corpse during daylight; return by day if you arrive at night. Choose “[search for a catalyst]” if you still need a catalyst, then return with Mysterious FragmentA broken piece of something much bigger. Can be used to compel a soul.Single-use catalyst. and use it in the soul conversation. That is the catalyst that reveals the information needed here.
For the fragment, search back inside the warehouse, north of the scout’s position in the yard. Look near ground level for the small broken stone piece. Pick it up and return to the corpse.
The other two available catalysts, Piece of ClothSoaked with blood. Can be used to compel a soul.Single-use catalyst. and St. Benedict MedalMeant to protect the wearer from evil. Can be used to compel a soul.Single-use catalyst., reveal different memories and return to the choices. They do not replace the fragment for finishing this investigation. After the relevant conversation, deal with the soldiers who arrive and continue the quest objective.
Brencis’s invitation
If you have received the invitation for A Deal with the Devil, follow its instruction to Shrike’s Crag after sunset, alone, and light the signal atop the watchtower. The daytime interaction offers “[wait for night]” if you need to wait for night.
Show the invitation’s deal, betrayal and fight consequences
Both “I'll do it.” and “I'll think about it.” continue the offer and its vial sequence. Neither reply marks the manumit hideout there and then.
To complete the deal, go to the hideout at night and choose “[mark hideout for Brencis]” at the confirmation. Marking it commits the betrayal and proceeds toward the campaign conclusion. The leave option backs out before marking it.
Giving the vial to Marat fails this deal route. If you choose the fight at the watchtower instead, that branch causes the family’s death before the combat. It is therefore a different rescue outcome even if you arrived before the deadline.
Home Sweet Home
Look southwest of The Silts map label, west of Tantari Woods, for the stone tower. Climb its outside wooden platforms toward the upper door. The lower platform is only part of the ascent; continue around the tower to the higher platform with the door interaction. For help aiming at the next surface, review the vampire traversal controls.
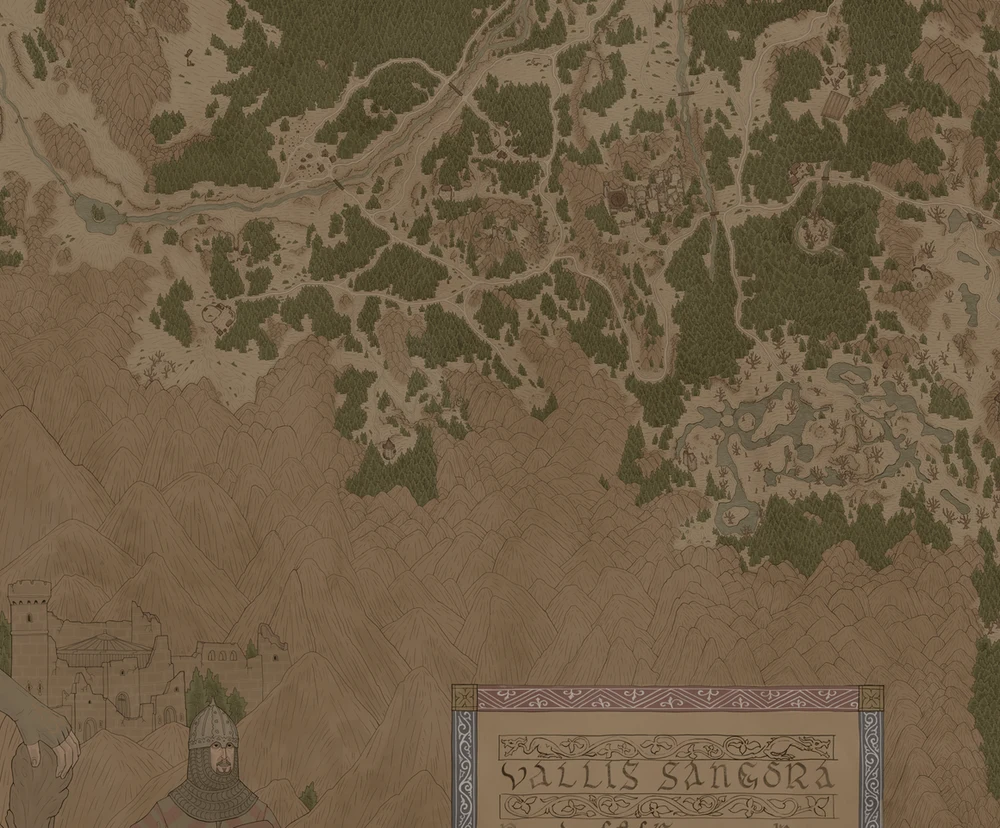
At the tower, opening the door with “[open the door]” enters Home Sweet Home. Peeking or leaving does not begin the repeating sequence. Preserve a save before opening it if you want to explore both resolutions.
Show the repeating-family conclusion
When the Journal asks you to split logs for firewood, interact with the logs and finish that scene, then speak to Esme for breakfast. During the rescue, follow the quest markers to the gargoyle encounters. Defeat the enemies at each encounter and let the resulting family conversation finish before moving on. The rescue scenes involve Esme, the children and Pieter.
Continue through the family scene that follows the rescue. If you wake into another loop, return to the breakfast conversation. Choose “We need to run.” when it becomes available and repeat the rescue until that conversation resolves into the conclusion.
If another loop begins, you have not reached that terminal conversation yet. The well provides the alternative below if you want to leave the loop and return to the valley instead.
Show how to escape through the well and solve the funeral
After the first completed loop, interact with the well. Ask “So how do I break out?”, continue discussing the available answers and select “Alin.” when it appears.
Follow the opened route through the memory scenes. At the funeral, let the priest speak and interact in this order:
- The small coffin.
- Esme.
- The child Coen.
A wrong interaction can restart the sequence. Follow the boy after the door opens. In the meadow, investigate the ice skates and finish their memory scene. Continue down to the river and speak with Alin; “I'll try.” continues the conversation toward returning to the tower.
This escape finishes the side quest and returns you to the valley. It is separate from the repeating-family credits outcome.
Early conclusions
Show leaving the valley and the prologue victory route
There are two exit approach areas: the western pass west of Briar Sloughs, and the southeastern edge beyond Tantari Woods. Follow the roads toward the highlighted areas until the leave-or-stay conversation appears.
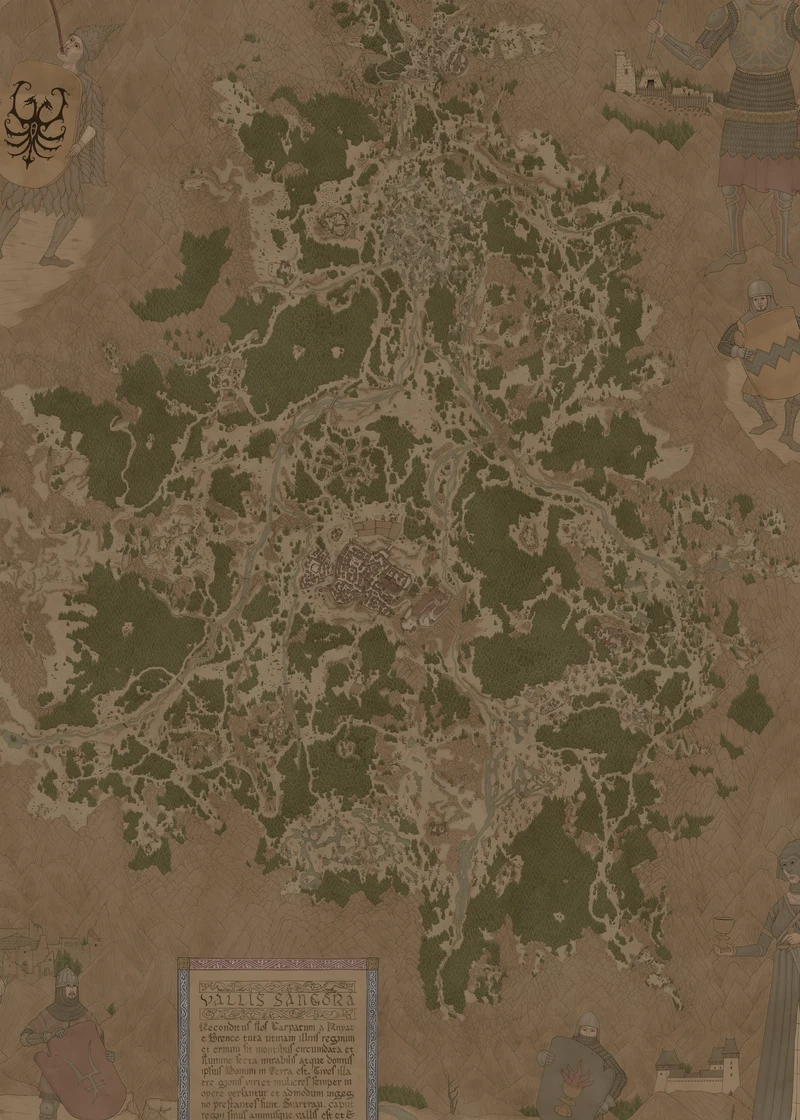
At a valley-exit confirmation, “[leave the valley forever]” leaves permanently and leads to credits. “[stay in the valley]” returns you to the valley. Reaching an exit and choosing to stay does not commit you to leaving.
Defeating Brencis in the prologue leads into the later astral confrontation instead of the ordinary prologue continuation. The village victory is not the end of that combat route: continue through the astral confrontation to its resolution. Preserve a prologue save if you want to revisit the ordinary continuation.
Family deadline and the final choice
Show what changes after the deadline and after defeating Brencis
The family-deadline event changes the rescue outcome and adds a new objective; it does not itself run the credits. You can continue toward an available confrontation, but a later victory cannot undo the deadline or reopen the independent route’s family bargain.
After winning the astral confrontation, you decide whether to leave Brencis in the astral realm or absorb his soul. “I'll leave you to your fate, then.” ends the conversation without taking him with you. “Come with me. I invite you.” takes his soul into Coen; the reason you give afterwards still leads to that absorption.
The invitation appears later in the conversation than the first leave option. To reach it from the discussion of his fate:
- Ask “And there's no alternative?”.
- Choose “I'm not done talking to you.”.
- In the discussion that follows, choose “You ruined my life. Turned me into a monster.”, then “I guess you did.”.
- Choose “Come with me. I invite you.”, explain your reason and finish the conversation.
If you see “Oh, but I'm not done with you.” instead of the discussion about his fate, choose it and continue from step 3. Preserve the earlier route save as well as any available later save if you want to compare both the assault and this final decision. After either conclusion, use the earlier save to resume available side content.
Esme’s medicine and a successful rescue are separate parts of the family’s outcome. Check the prologue recipe when planning a fresh playthrough; a save made just before the finale is too late to change that preparation.