11 routes to shops, camps and pickups. Choose a location for its starting point, steps and related items. Story-sensitive directions stay closed until you reveal them.
No matching location. Try a shorter name or reset the filters.
Neustadt, Svartrau · Merchant
Mevasser’s house
Directions and related items
Start here
First investigate Silas’s Book in Aurelius’s Tower to unlock Life Lock. Then return to Mevasser in Neustadt, Svartrau.
Neustadt’s central square · Large tree · Stone archway beside the house
Entrance
From the square with the tree, enter the house on the left beside the stone archway.
Level
Inside Mevasser’s house; speak to him in the room where the quest meeting takes place.
Follow the route
Go to the central square in Neustadt with the large tree. Find the house on the left beside the stone archway; Mevasser does not have a shop marker. Enter the house to speak with him.
If you are meeting him during What Moves the Dead, follow Crake and Mevasser and finish the current conversation before looking for his regular dialogue options.
Choose “So you’re a man of vast knowledge...” and finish the discussion about his books. Then choose “Show me your collection.” to open the shop.
Look for Life Lock Manual and check the displayed price before buying. This offer requires the tower book discovery; opening the shop alone does not satisfy that condition.
Read the purchased manual in Inventory, then visit a Road Shrine to learn the unlocked later rank with its required Skill Points and learning time. The tower book already grants rank 1 directly.
This is a possible offer after finding Silas’s Book. Current stock, price, total purchasable copies and refresh timing are not established across saves. If the manual is absent after the book discovery, this route does not establish when it returns.
Go to Aurelius’s Tower in The Silts. Who Pulls the Strings sends you here after What Moves the Dead; if you already collected the book, check Life Lock before repeating the journey.
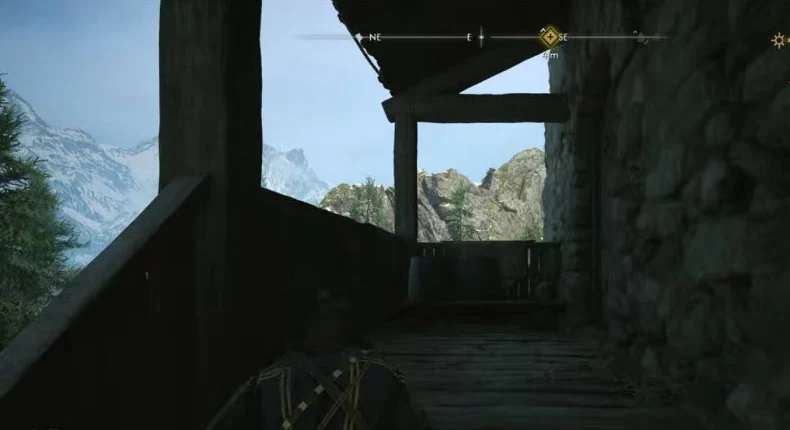
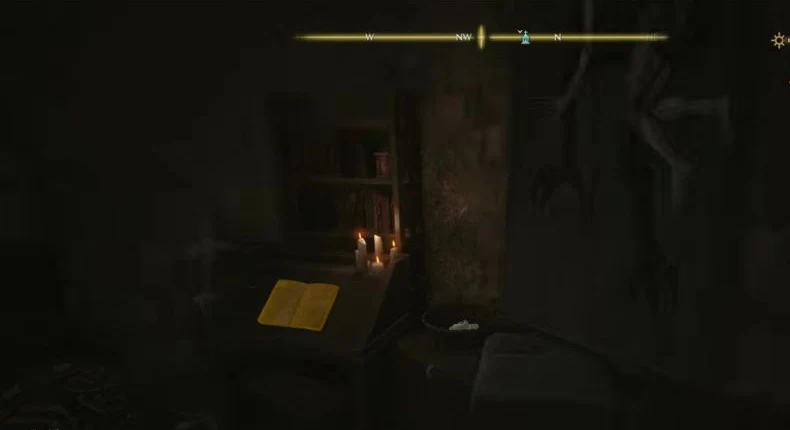
Raised wooden walkway · Bookshelves and candles · Open book on a sloping stand
Entrance
Use the exterior stairs and follow the wooden walkway along the tower wall.
Level
The upper study on the third floor, below the Home Sweet Home door.
Follow the route
Defeat the flying gargoyle outside the tower. Climb the exterior stairs and follow the raised wooden walkway beside the stone wall to the entrance.
Climb through the tower, dealing with the enemies on the way. Continue to the upper study on the third floor and defeat the enemy guarding the room with bookshelves.
In the study, use Focus to find the open book on a sloping wooden stand beside the candles and bookshelves. Inspect the highlighted parts of its pages and finish the investigation.
Wait for the Life Lock ability-unlocked notification. The book directly grants rank 1; no manual purchase or separate Shrine lesson is needed for this reward. During Who Pulls the Strings, the next objective is Show Marat the book.
The book can be collected before starting Who Pulls the Strings. This route ends with the rank-1 ability reward; later ranks use their own learning requirements. The door one floor above the study starts Home Sweet Home and is not needed for this book pickup.
Follow the raised wooden walkway along the tower wall to the entrance. WoW Quests · 2:04
Inspect the open book highlighted on the stand beside the candles. WoW Quests · 4:37
After Smoke and Ashes, go south from Laslea Glen towards Briar Sloughs. On the west side of the river, find the uphill trail marked by windchimes and yellow cloth. Follow the windchimes begins this part of A Pilgrimage for Power.
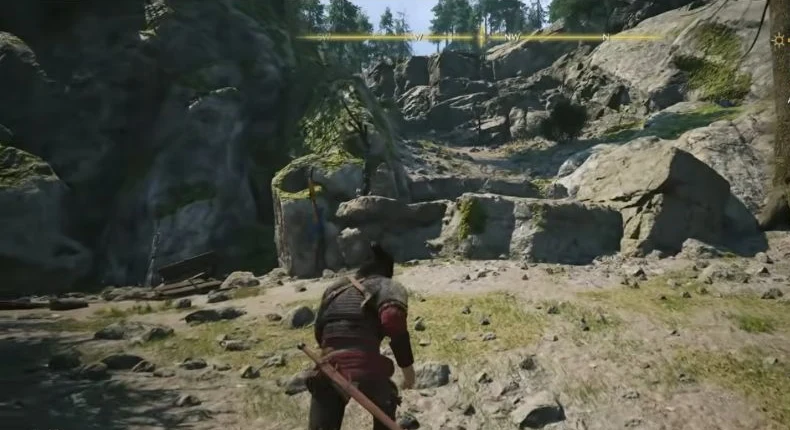
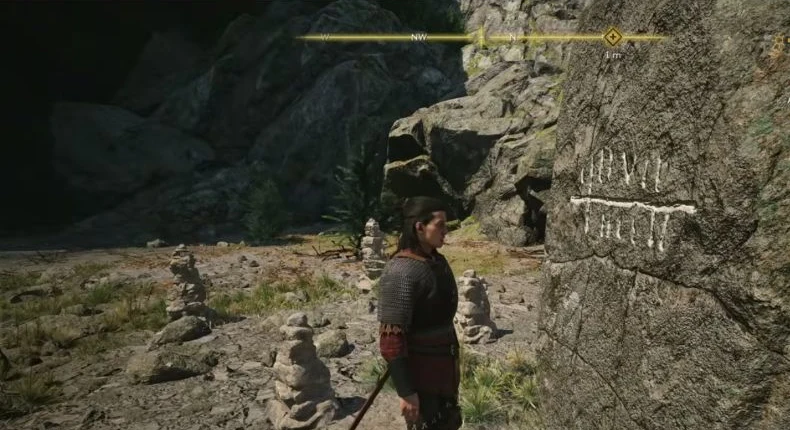
Windchimes and yellow cloth · Low rock ledges · Carved stone surrounded by cairns
Entrance
Follow the marked rocky trail uphill into the bear’s clearing.
Level
Outside, in the hilltop clearing; the body is in a dark recess beside it.
Follow the route
Follow the windchimes uphill through the rocky forest. Use Focus to pick out the trail markers. Continue past the abandoned camp and climb the low rock ledges marked with yellow cloth.
Enter the open clearing at the top and defeat the Ravenous Bear. The tall stone with the white carved glyph stands among small piles of stones in this clearing.
Inspect the uriashi glyph and finish copying it. The interaction displays a cost of 2 time segments; confirm that cost before proceeding. The reward notification shows Ravenous Flock Manual (1).
If Explore the top of the hill remains active, inspect the dead Uriash in the dark recess beside the clearing, including his arm wound, and the bloody knife on the ground near the glyph. Finish the investigation dialogue to close Bear Trouble.
Open Inventory and read Ravenous Flock Manual. Then visit a Road Shrine to learn the unlocked rank using its required Skill Points and learning time.
This route covers the Bear Trouble glyph. The manual reward can appear before the remaining hill investigation is finished. The 2-segment prompt applies to copying this glyph, not the journey or later skill training; repeat rewards are not established.
Continue uphill over the low rock ledges beside the yellow trail marker. WoW Quests · 0:59
Inspect the white glyph on the tall stone among the small cairns. WoW Quests · 3:28
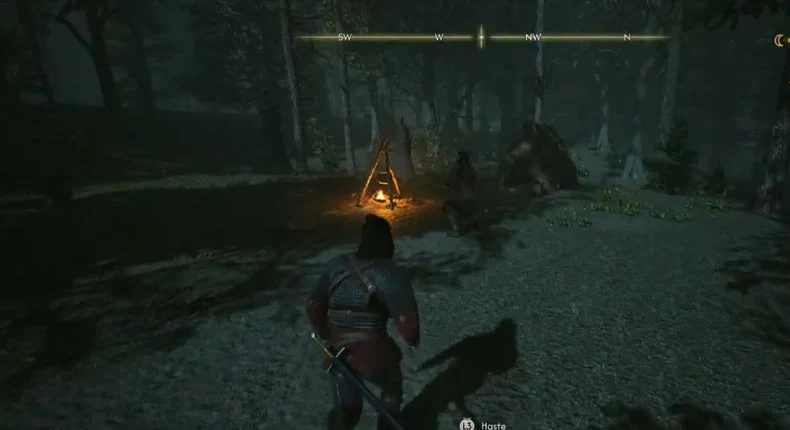
Free Ursul during Ambrus’s Prisoners: Lucky Crossing on the road near Svartrau Bridge. After accepting his invitation, track “Meet up with Ursul” and go to his camp in the northeastern Svartrau Outskirts forest.
Cooking fire with a hanging pot · Small tent · Forest clearing
Entrance
Follow the Meet up with Ursul objective to the clearing and approach the cooking fire.
Level
Outside, at ground level beside the fire.
Follow the route
At the camp clearing, look for the lit cooking fire with a pot hanging from three wooden poles. Ursul stands beside it, with a small tent behind him.
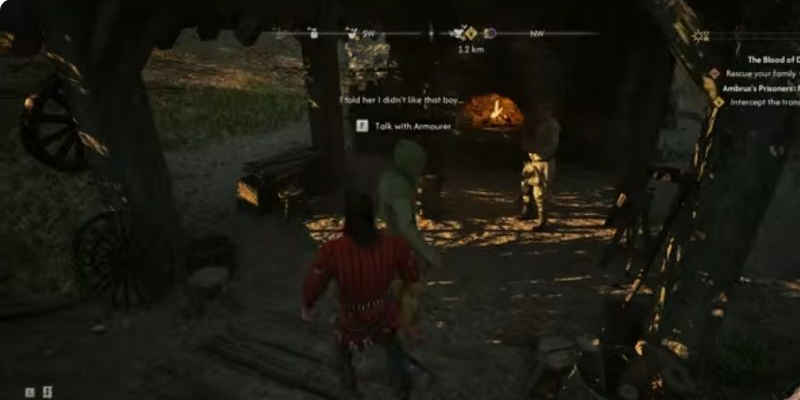
Speak to Ursul and choose “Can you teach me about swordfighting?” to begin his trial. Win the duel and finish the conversation that follows.
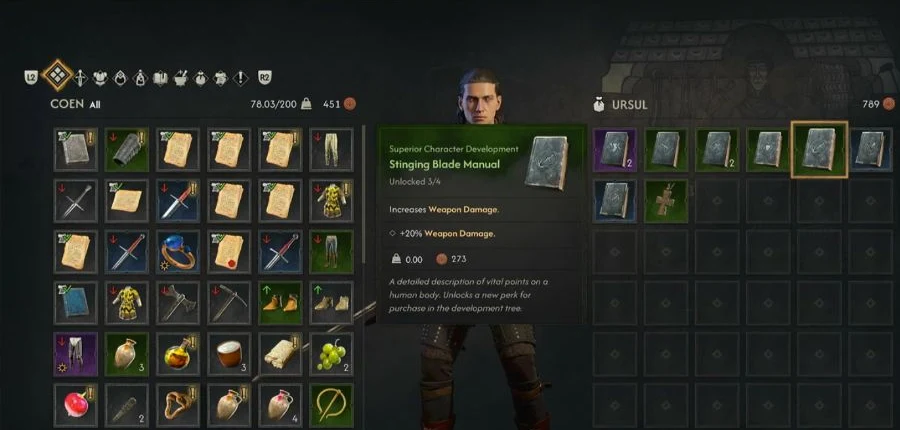
Browse Ursul’s shop after the trial. Check which manuals are currently offered and the displayed price before buying.
Rescuing Ursul alone does not complete this shopping route: meet him at the camp and pass his trial. Keep him alive and able to trade. These are possible offers; current stock, refresh timing and repeat purchases have not been confirmed across saves.
Approach Ursul beside the cooking fire and small tent in the forest clearing. ZaFrostPet · 2:44
After the trial, check the manuals in Ursul’s inventory on the right. This recording shows Stinging Blade Manual selected. ZaFrostPet · 3:59
After completing Echoes of Silenced Bells, return to the Crossroads Inn, south of St. Tyna’s Grove. This route starts outside the old inn building where Between the Words takes place.
Heavy timber posts · Raised wooden approach · Books and tables inside the old inn
Entrance
Follow the short wooden approach through the open doorway beneath the damaged roof.
Level
Ground floor of the old inn.
Follow the route
Approach the timber building and use the short raised wooden approach to its open doorway. The entrance sits between heavy wooden posts, beneath the damaged roof.
Enter the ground-floor room and find Anca by the books and tables. Speak to her and open trading when the option is available.
Check her current inventory for the manual you need and confirm the displayed price before buying.
This is a possible offer after the convent quest, not a prologue shopping route. Anca must be present and able to trade. Stock, repeat purchases and refresh timing have not been confirmed across saves; an absent manual has no verified return time.
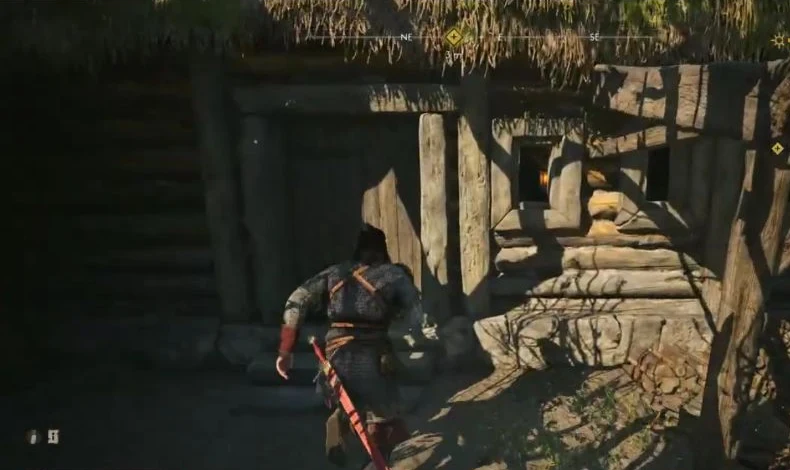
Use the raised wooden approach between the heavy posts to enter the old inn through this doorway. WoW Quests · 0:20
Rocky path between high rock faces · Open stone-paved clearing · Ruined stone walls
Entrance
Follow Pieter up the path and continue into the open clearing.
Level
Outside, at ground level on the stone paving.
Follow the route
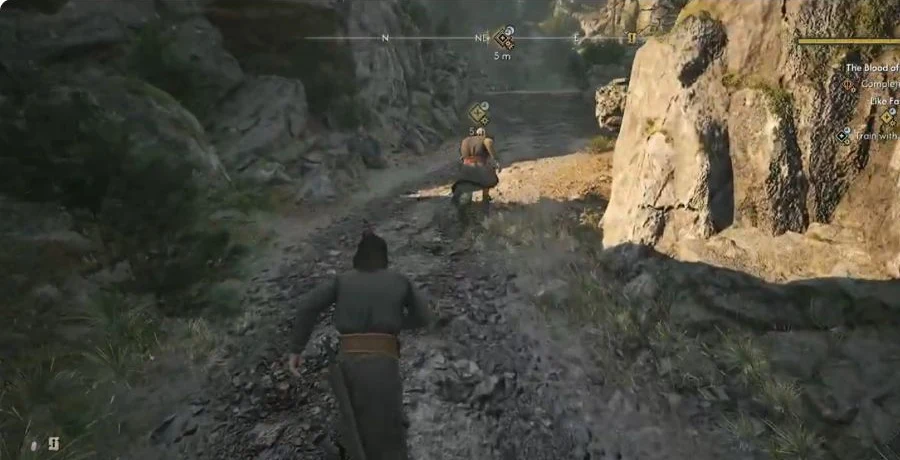
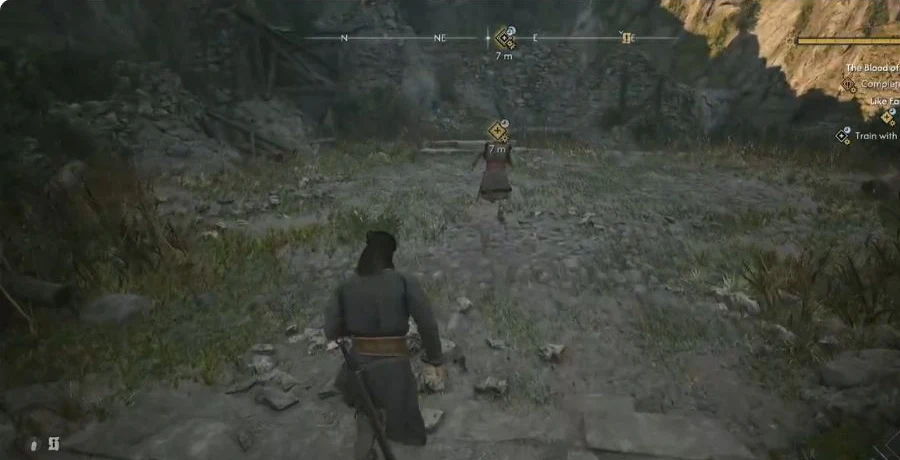
Leave the house behind Pieter and follow his quest marker up the rocky path. Stay on the path between the rock faces as he leads you to the clearing.
Enter the open, stone-paved training ground beside the ruined walls. Approach Pieter and complete the sparring encounter for “Train with Pieter”.
Finish the conversation after training. The Charge Manual is a completion reward, whether you keep exploring or leave for the mass. Going to mass advances the story, so make that choice with your remaining prologue activities in mind.
Check Inventory for Charge Manual and read it. Charge then becomes available to learn; spend its required Skill Points and learning time at a Road Shrine.
This route requires completing the prologue training quest. Finding the clearing after the prologue is not a substitute. The training objective shows one time segment; that is not a total for the prerequisite quest, travel or subsequent learning. Other ways to obtain this manual remain under review.
Follow Pieter and the quest marker along the rocky path between the rock faces. WoW Quests · 0:40
The path opens into the stone-paved clearing. Approach Pieter beside the ruined walls to begin training. WoW Quests · 0:45
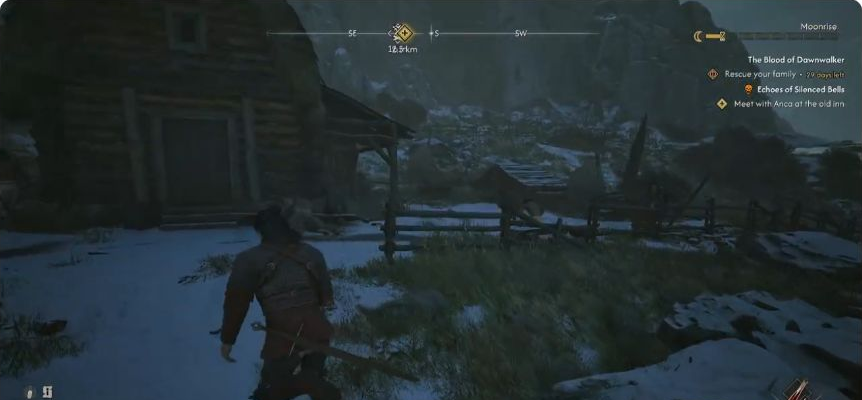
Find the Bandit Camp northeast of Laslea Glen. Start outside the camp, facing the large, steep-roofed wooden house and the low fences around its yard.
Look for
Steep-roofed wooden house · Low yard fences · Barrels beside the house
Entrance
Approach across the partly snow-covered yard beside the wooden house.
Level
Outside, at ground level. The observed loot is beside the house.
Follow the route
Approach the house across the partly snow-covered yard. The enemies are outside the building.
Defeat Renegade Bruiser and the nearby enemy. The fight shown takes place beside the house.
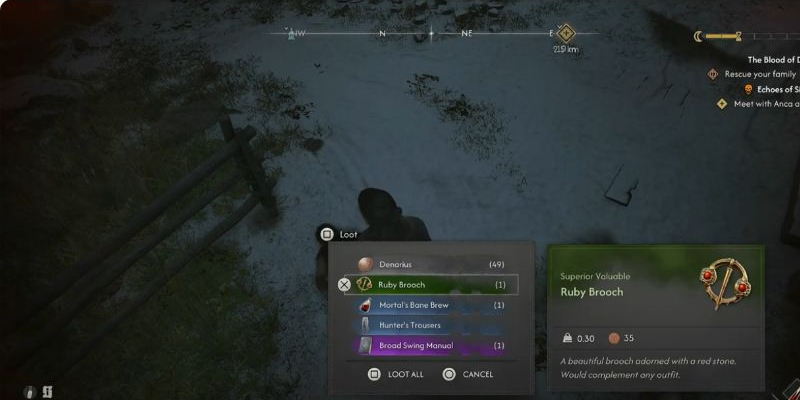
Search the fallen enemy beside the barrels near the house. Take the Broad Swing Manual from the corpse’s loot list; this pickup is not inside a chest.
The video starts near the camp; it does not show the journey from the village. This is one observed pickup, with no confirmed respawn or repeat-farming route.
Approach the wooden house across the snowy yard. The outlined doorway is a landmark; the enemies and manual pickup are outside. WoW Quests · 0:16
Search the fallen enemy beside the house. Broad Swing Manual appears in the corpse’s loot list, outlined here; take it from this menu. WoW Quests · 0:50
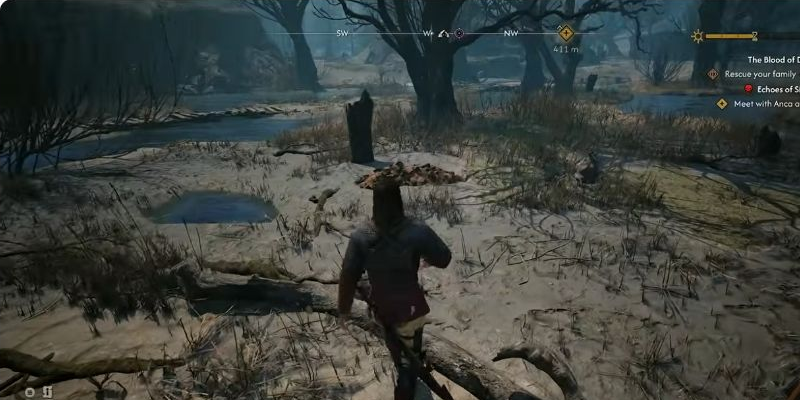
Bring a Shovel to Tantari Bog, southeast of Tantari. Start on the path north of the Tantari Bog shrine, leading into the shallow pools and wooden walkways.
Look for
Wooden walkway · Bare tree · Upright marker beside loose earth
Entrance
Leave the walkway for the patch of dry ground to its west.
Level
Outside, on dry ground among the shallow pools.
Follow the route
Follow the path north toward the wooden walkway across the water.
Look west of the walkway for the patch of dry ground with a bare tree, an upright marker and a mound of loose earth.
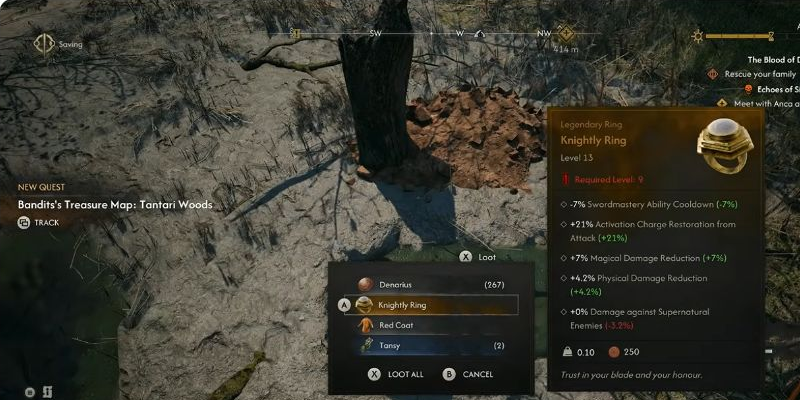
Approach the mound and use the digging interaction. Follow the displayed prompt to finish digging, then open the loot.
Check the stash’s loot for the Knightly Ring and take it. The linked footage shows the ring here; finding the mound alone does not put it in your inventory.
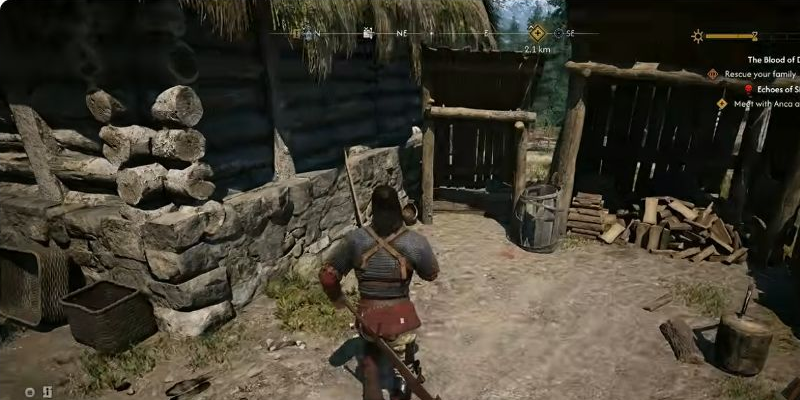
Need a Shovel? In Parlita, enter the yard with the washing line beside the log house. Continue past the hanging wash toward the covered firewood stack; pick up the Shovel beside the woodpile and barrel. The video shows this pickup at 1:43, before the Tantari Bog route. Check any time preview before committing to digging. The contents have not been confirmed across different saves; this is an observed pickup, not a repeat-farming route.
Prepare in Parlita: continue past the washing line to this covered woodpile. Pick up the Shovel beside the barrel before travelling to Tantari Bog. DPJ · 1:38
Look beside the bare tree and upright marker for this loose mound, west of the wooden walkway. Approach the mound to start digging. DPJ · 2:35
Open the dug-up stash and check its contents. This recording shows Knightly Ring in the loot list; contents across different saves have not been confirmed. DPJ · 3:01
Follow Forge It Anew: Executive Order. Investigate the cave the soldiers have already searched, then follow the lead to their nearby camp.
Look for
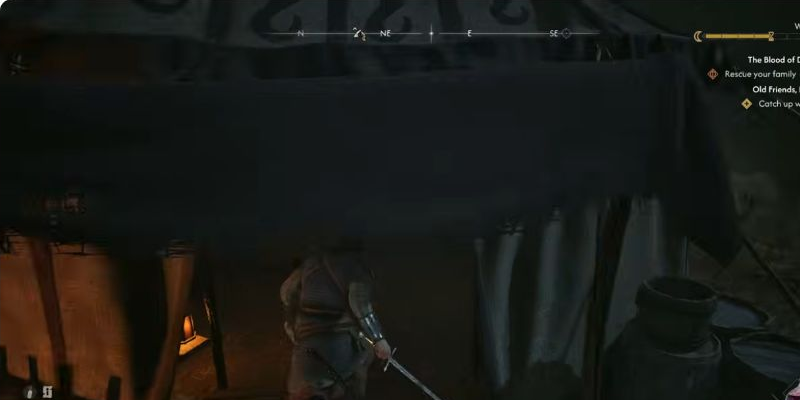
Open tent front · Lamp beside the entrance · Small chest on a barrel
Entrance
Enter the tent through its open front and turn right.
Level
Inside the tent, at ground level.
Follow the route
Enter the camp’s tent through its open front.
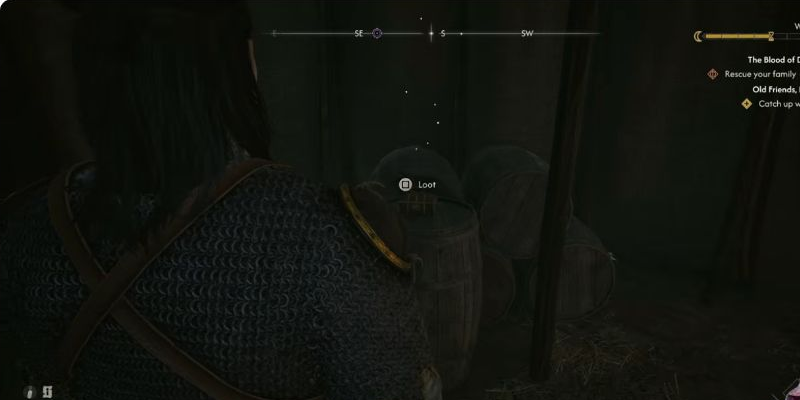
Turn right inside and look for the small chest sitting on a barrel.
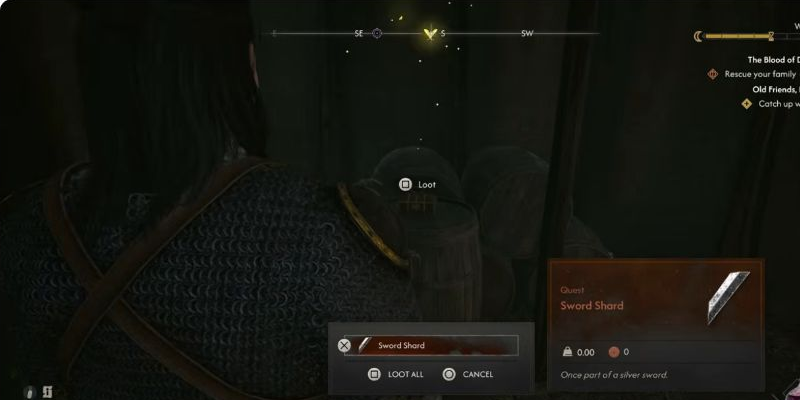
Loot the Sword Shard from that chest. Searching the soldiers or the emptied cave does not replace this pickup.
This is one of the three blade fragments. The footage shows the tent pickup at night; that alone does not establish a night-only requirement. The linked reconstruction guide covers the other two fragments.
Enter the tent through its open front, beside the lamp. Turn right once inside. Joe Hammer Gaming · 2:13
The small chest sits on a barrel inside the tent. Approach it until the Loot prompt appears. Joe Hammer Gaming · 2:17
Take Sword Shard from the container’s loot list. This is the tent fragment; the reconstruction guide covers the other two. Joe Hammer Gaming · 2:17
Use your current A Monk and a Saint objective to gain access to the cathedral and identify Saint Mihai’s symbol. The linked walkthrough explains the library and stained-glass investigation route.
Look for
Side courtyard by the cloisters · Mihai’s memorial stone · Arched underground passage
Entrance
Identify Mihai’s symbol and use the memorial interaction to enter beneath it.
Level
Underground, below the courtyard memorial.
Follow the route
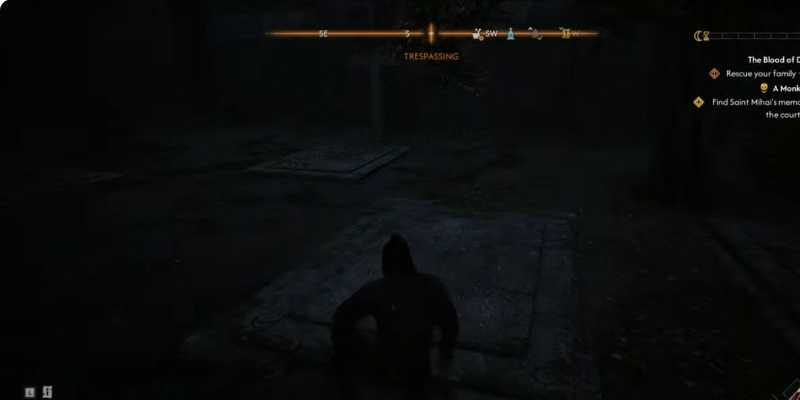
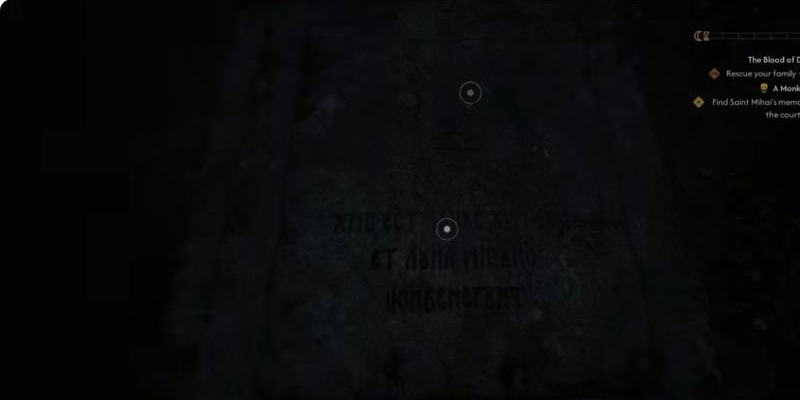
Find the memorial stone bearing Mihai’s symbol in the side courtyard by the cloisters.
Enter the crypt beneath the memorial and complete the encounter with Saint Mihai. Prepare for combat before entering.
Follow any remaining sword-pickup objective and check Inventory for the Broken Sword of St. Mihai. Finding the nearby readable is not the sword reward.
Search Mihai’s cell with Focus Mode and read his notes for the lead to the uriashi smith.
The cathedral has alternative investigation leads and a nighttime entry objective when closed. Follow the objectives offered in your current quest state.
After identifying Mihai’s symbol, find his memorial stone in the side courtyard by the cloisters. The recording approaches this stone at night. Quest Core · 1:37:39
Inspect the memorial and its symbol, then follow the available interaction to enter the crypt beneath it. Complete the cathedral investigation first if the entrance is not yet available. Quest Core · 1:37:44
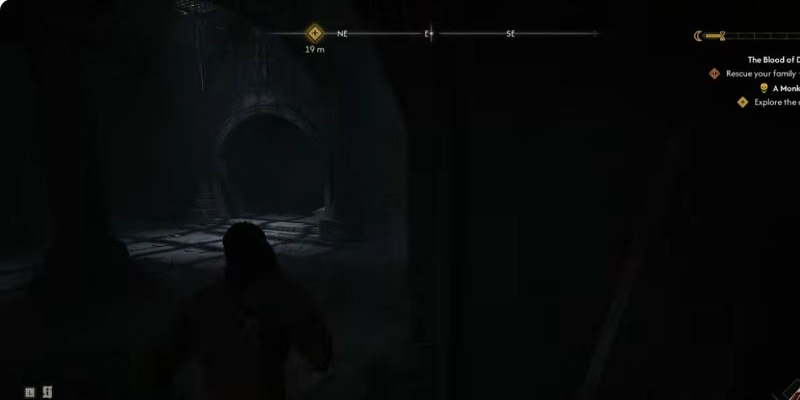
Inside the crypt, follow the passage and objective marker through the arched doorway. Prepare for the encounter before continuing deeper. Quest Core · 1:39:04